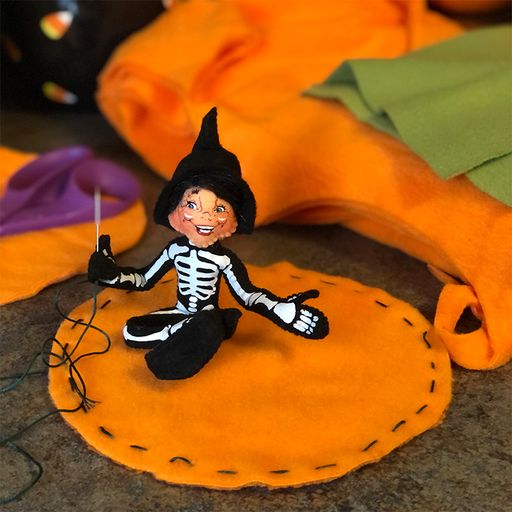
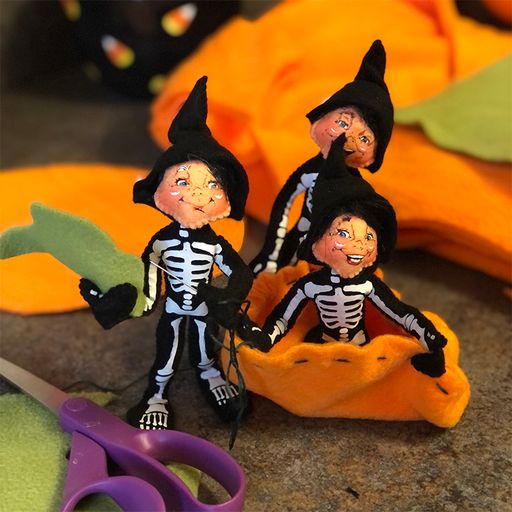
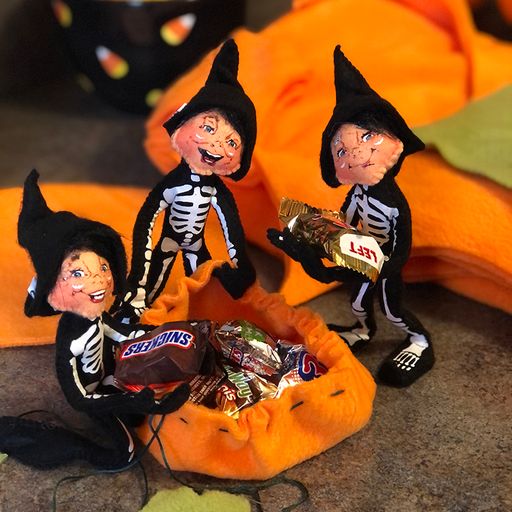
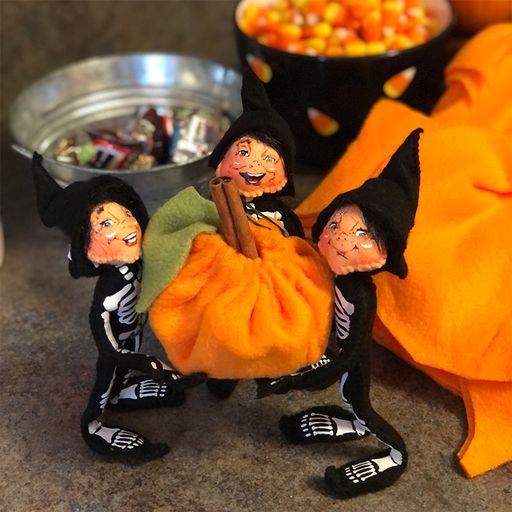
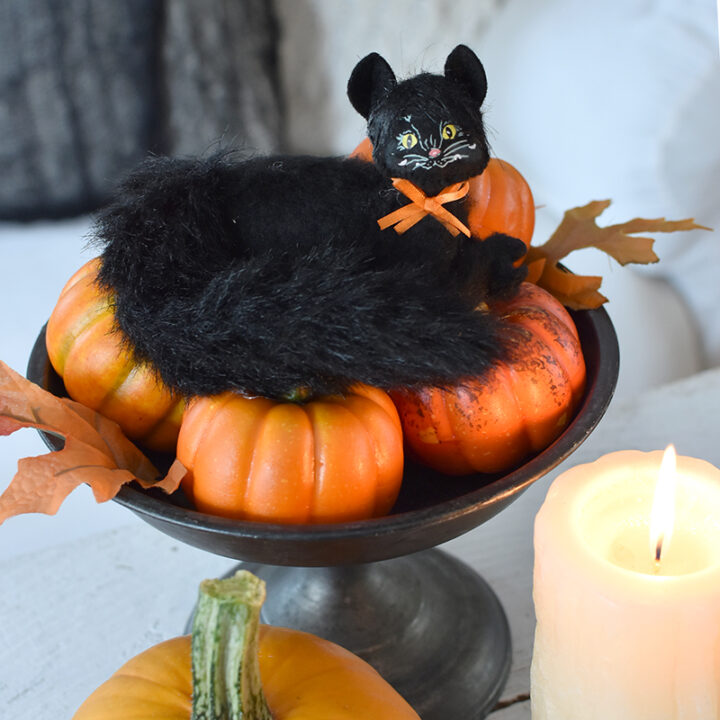
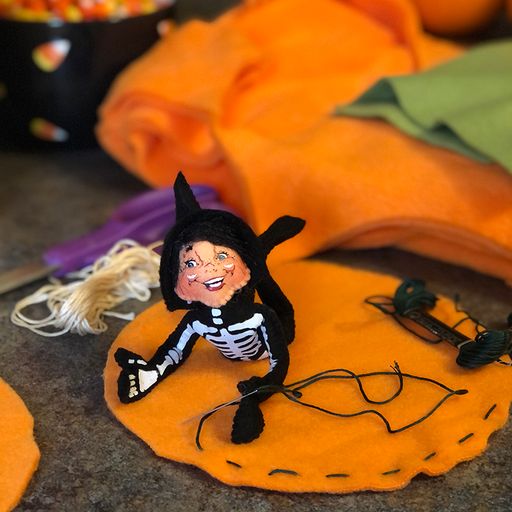
 It’s the most spooktacular time of the year! Get in the festive spirit of Halloween with our fun and easy DIY Pumpkin Treat Bag craft! This quick tutorial (brought to you by our elves) will help you create some adorable little treat bags that are perfect for Halloween parties and will certainly delight trick or treaters. You only need a few supplies to whip these up!
Looking for more Halloween ideas? Find inspiration in our festive Halloween Collection! Don’t miss our Meringue Ghost Halloween Cookie Recipe.
DIY Pumpkin Treat Bag Tutorial
Materials:
- Orange Fleece (other fabrics would work too) 7” circle per pumpkin
- Green Fleece 3”x3” for leaf
- Embroidery floss & needle
- Scissors
- Pen
- Cinnamon stick (optional)
- Candy (individually wrapped miniature size work best)
Instructions:
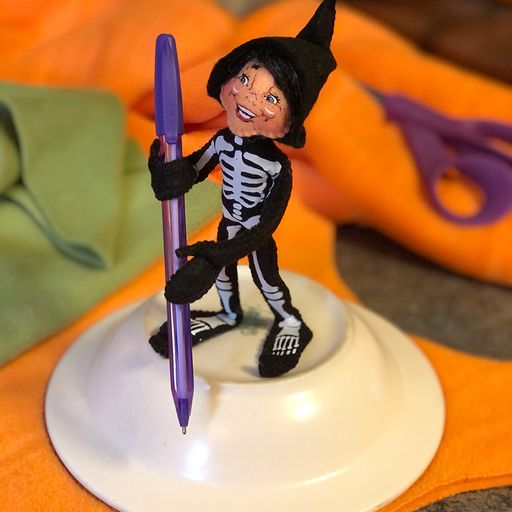
Step 1. Find a 7”-8” circle for tracing. The elves used a cereal bowl!
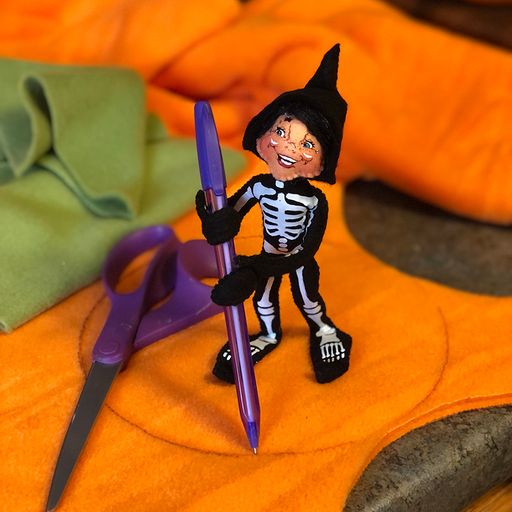
Step 2. Trace circle onto fleece.
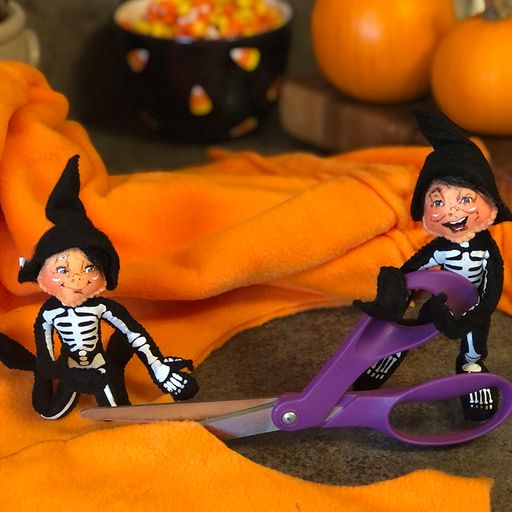
Step 3. Cut out circle!
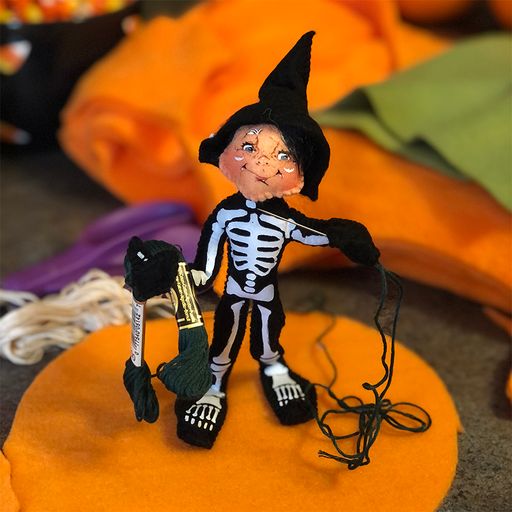
Step 4. Thread embroidery needle and do a simple stitch around the outer edge of the circle (¼” – ½” away from edge). Leave about a 6-inch tail from the starting point, to tie up the bag when you’re done. Leave the needle threaded so that you can add the pumpkin leaf.
Step 5. Cut the pumpkin leaf out of your green fleece. Here’s a simple leaf shape if you need something to trace!
Step 6. Next, sew on the pumpkin leaf using the same needle and floss.
Step 7. Place a small handful of candy in the middle of the circle. Cinch up the bag around the candy by pulling on the ends of the floss.
Step 8. Once it’s tight, trim the ends of the floss and tie in a bow so that the recipients can easily untie it and get to their treats! Insert the cinnamon stick into the center of the pumpkin (careful not to crush any of the candy!)
Step 9. Enjoy!
Get Crafty with Annalee This Halloween
Discover More Halloween Fun with Annalee
-
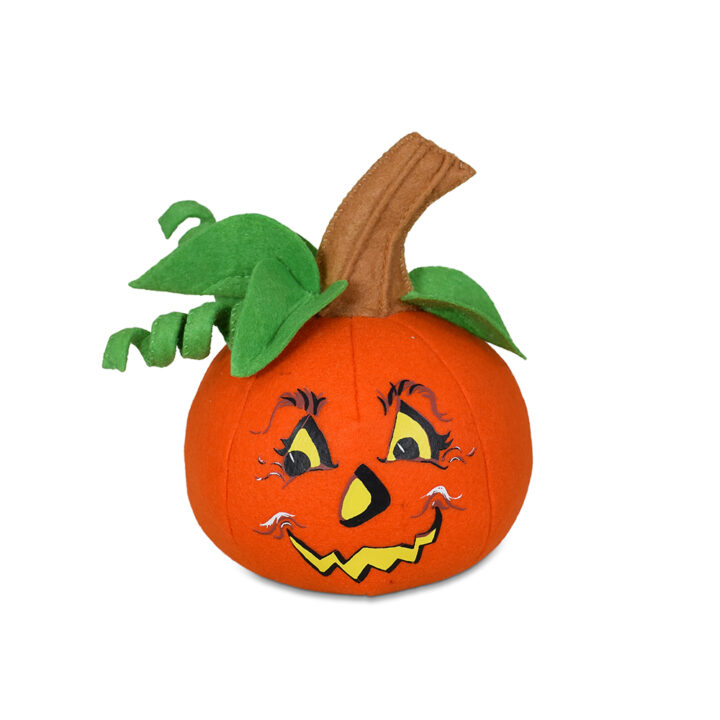
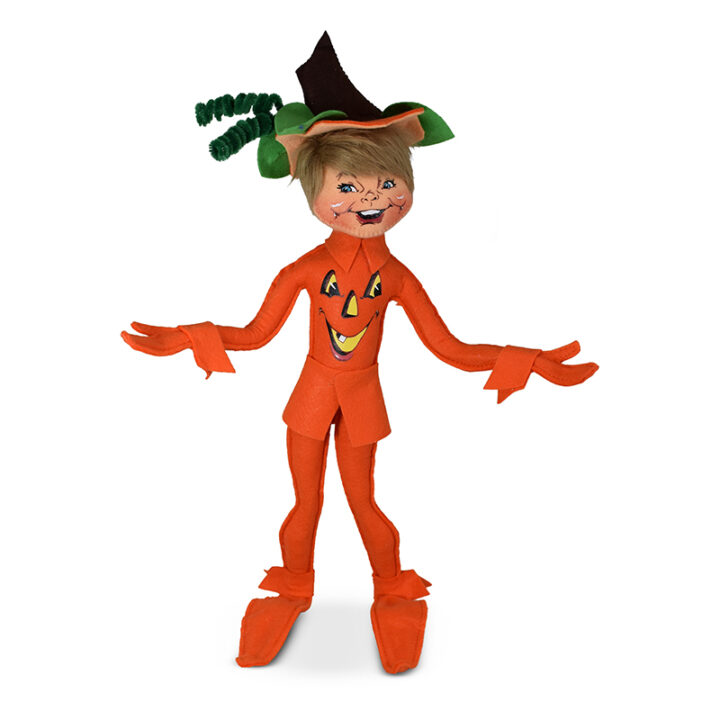
5in Jack O Lantern
Original price was: $24.00.$14.40Current price is: $14.40.Item #310824 -
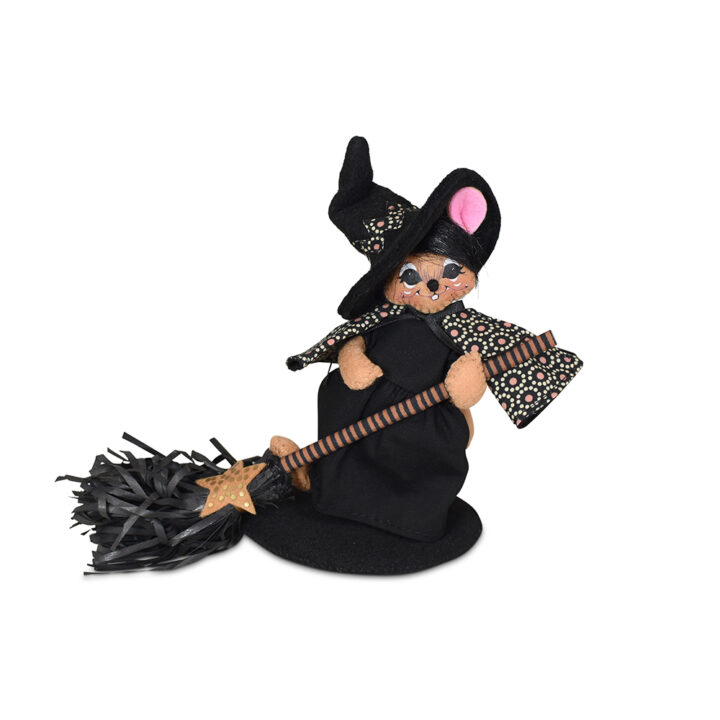
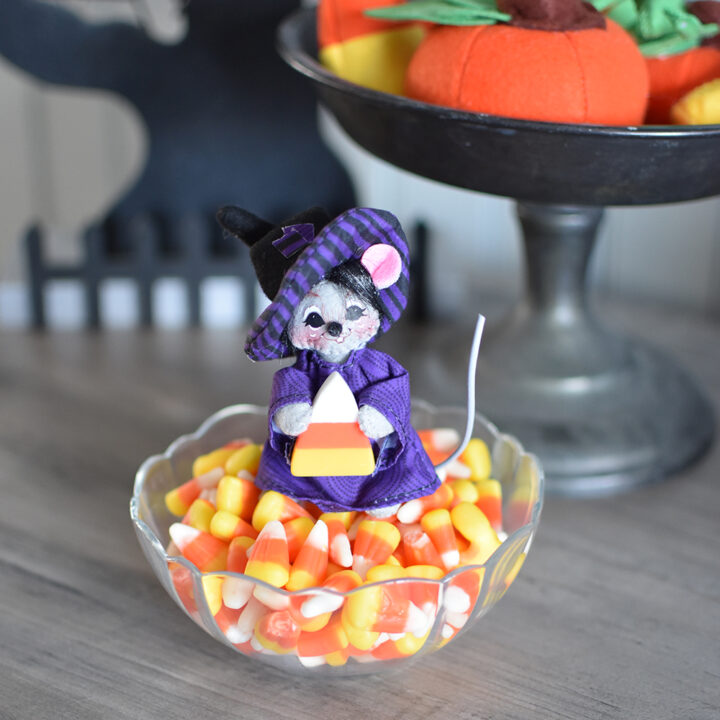
5in Flying Witch Mouse
Original price was: $29.00.$17.40Current price is: $17.40.Item #311224 -
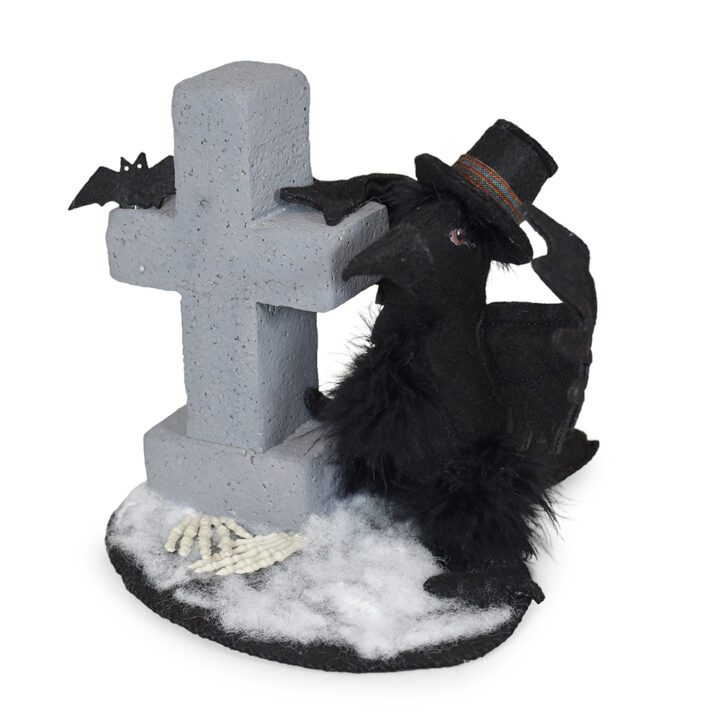
6in Tombstone Crow
Original price was: $36.00.$21.60Current price is: $21.60.Item #311323 -
-
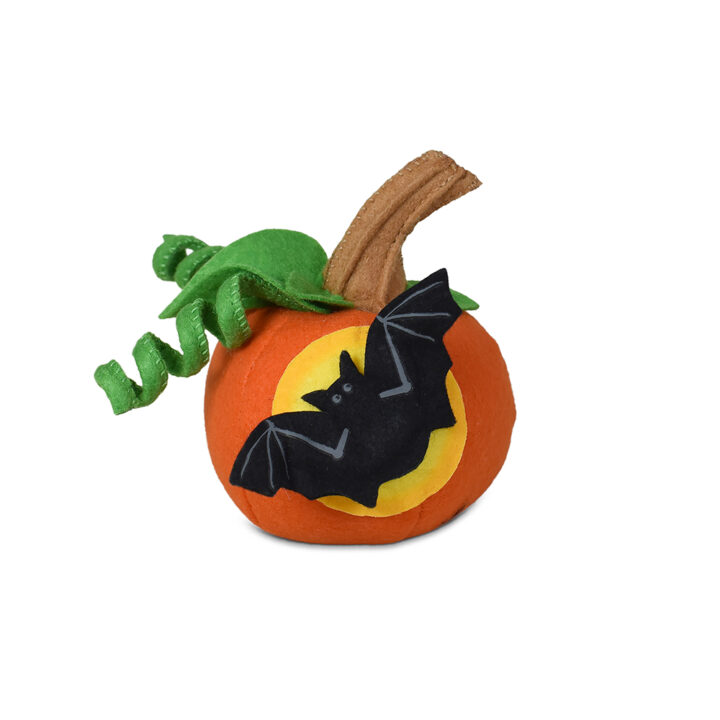
4in Pumpkin with Bat
Original price was: $22.00.$13.20Current price is: $13.20.Item #310724 -
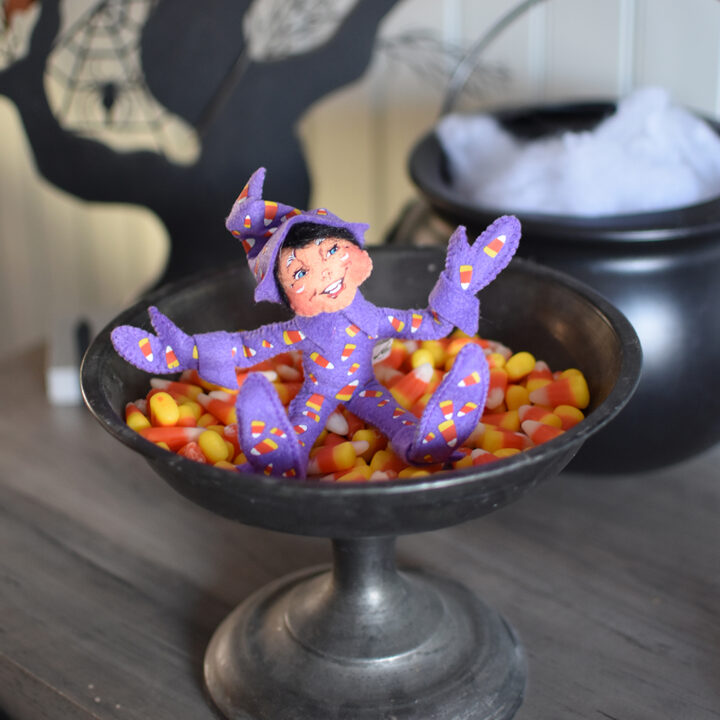
5in Candy Corn Elf
Original price was: $25.00.$15.00Current price is: $15.00.Item #311024 -
3in Candy Corn Mouse
Original price was: $24.00.$14.40Current price is: $14.40.Item #310024 -
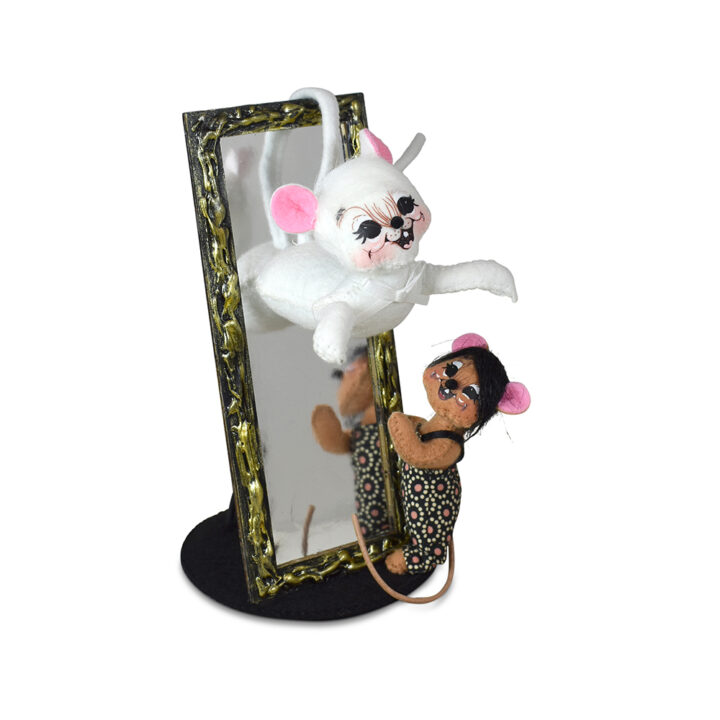
5in Haunted Mirror Mouse
Original price was: $42.00.$25.20Current price is: $25.20.Item #310224 -
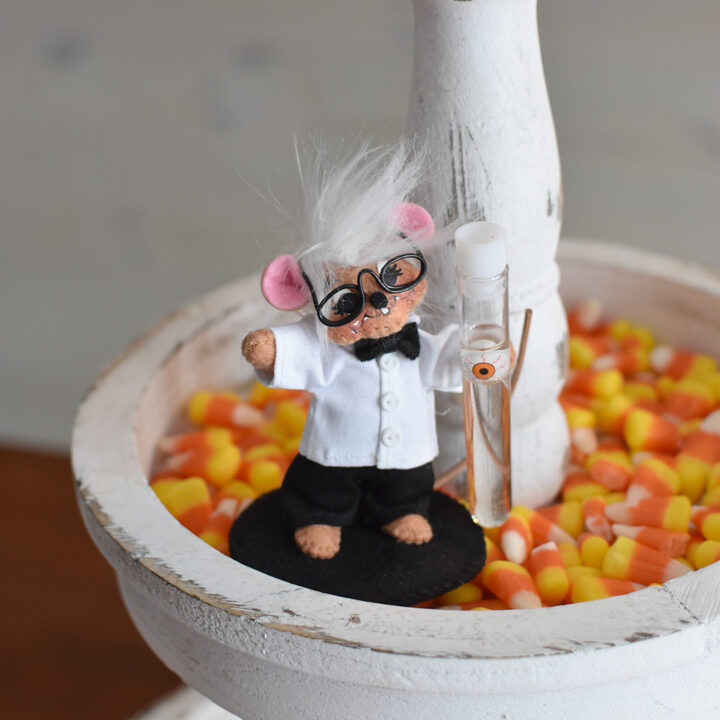
3in Mad Scientist Mouse
Original price was: $29.00.$17.40Current price is: $17.40.Item #310424 -
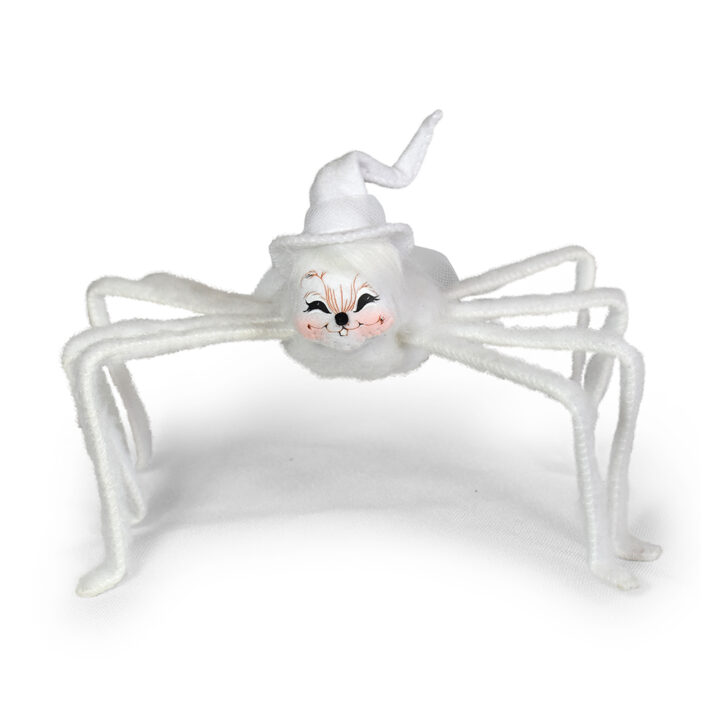
5in Witchy White Spider
Original price was: $26.00.$19.50Current price is: $19.50.Item #310625 -
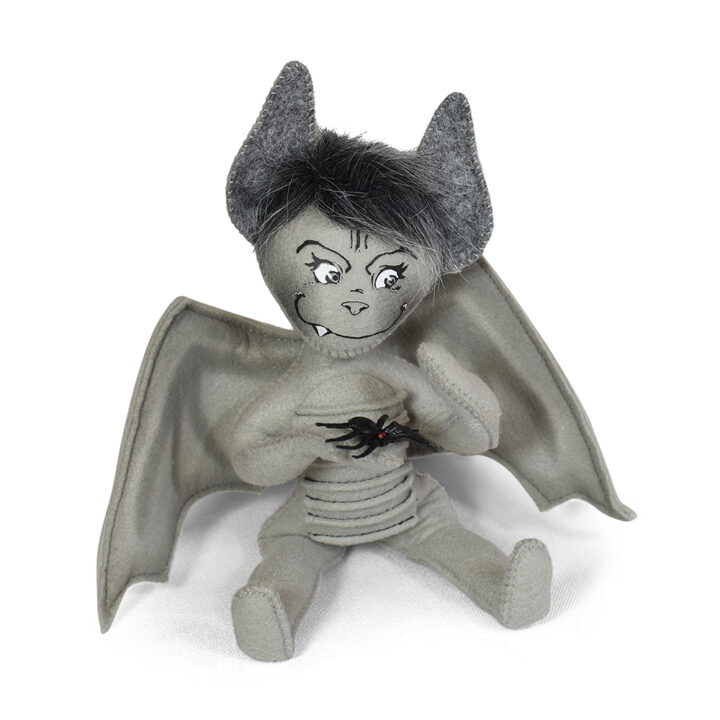
7in Fright Night Gargoyle
Original price was: $32.00.$24.00Current price is: $24.00.Item #310925 -
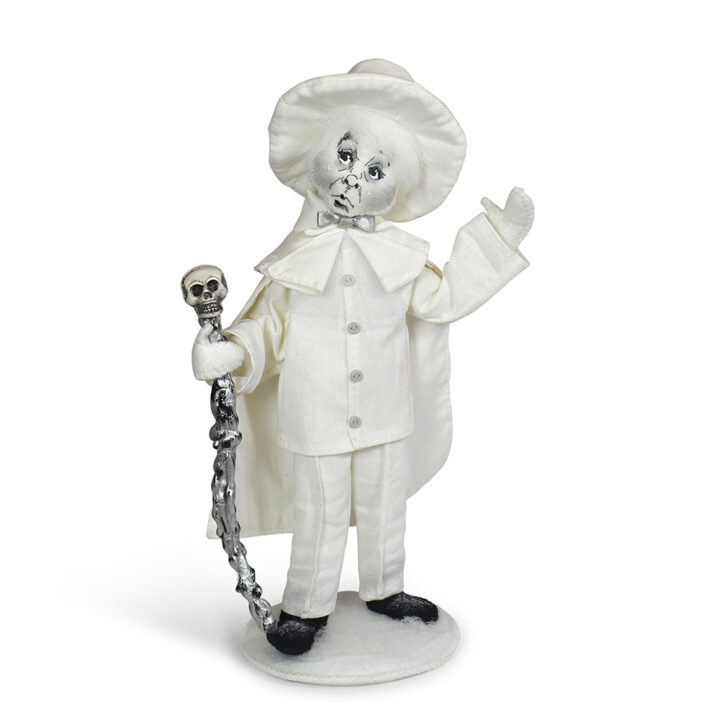
10in Ghost Warlock
Original price was: $39.00.$29.25Current price is: $29.25.Item #311625


